
✨ Winnie's Tutorials & Resources ✨
TABLE OF CONTENTS
⧽ PART I: Basic Canva Banner
⧽ PART II: Banner GIF Overlay
⧽ PART III: Moodboards
⧽ PART IV: Basics of Coding
⧽ PART V: Coding Resources & bbCode Colours
⧽ PART VI: Basic Picsart Banner *NEW*
⧽ PART VII: Coding Continued: Resizing your images and making them float!
*Please note: I moved the tutorials from the first post because it was getting too large, from now on I will just comment when a new tutorial comes out and link the post above.
Last edited by Winnie Athanatos on 1 Aug 2026, 18:53, edited 13 times in total.
│ │ | │ │ | STA: 15 • EVA: 18 • STR: 8 WIS: 11 • ARC: 7 • ACC: 17 | │ │ | • Healing Sage • Muggle Condition • Paragon of Health • • Poison Resistance • Animagus • Wandmaker • Lovely Creature • | │ │ | │ │ |

✨ Winnie's Tutorials & Resources ✨
Very cool to see the process behind these awesome banners, thank you for sharing!
{ 𝔗𝔥𝔢𝔯𝔢 𝔴𝔞𝔰 𝔞 𝔟𝔬𝔶: 𝔞 𝔳𝔢𝔯𝔶 𝔰𝔱𝔯𝔞𝔫𝔤𝔢, 𝔢𝔫𝔠𝔥𝔞𝔫𝔱𝔢𝔡 𝔟𝔬𝔶. 𝔗𝔥𝔢𝔶 𝔰𝔞𝔶 𝔥𝔢 𝔴𝔞𝔫𝔡𝔢𝔯𝔢𝔡 𝔳𝔢𝔯𝔶 𝔣𝔞𝔯 𝔬𝔳𝔢𝔯 𝔩𝔞𝔫𝔡 𝔞𝔫𝔡 𝔰𝔢𝔞. }
(iNPC: Madhup Hexum)

✨ Winnie's Tutorials & Resources ✨
agreed! interesting, and super helpful :)
chill, it's only chaos

✨ Winnie's Tutorials & Resources ✨
thank you, this was so helpful! I always wondered how people get the brush frame effect thingy and who knew it was there on canva all along 
Also, if you're like me and you don't have canva pro, I'd recommend https://www.remove.bg/ for removing the backgrounds of images!
Also, if you're like me and you don't have canva pro, I'd recommend https://www.remove.bg/ for removing the backgrounds of images!
Even the darkest night will end and the sun will rise.

Andrew Vance
✨ Winnie's Tutorials & Resources ✨
Reducio
Winnieeee, thank you for tutorial & hooking me on Canva
✨ Winnie's Tutorials & Resources ✨
Just had to come by and thank you for this tutorial. I was able to make my first banner and it actually came out pretty great! You're an angel. 
| sta • 9 | eva • 8 | str • 6 S T A T I S T I C S wis • 7 | arc • 7 | acc • 8 |

✨ Winnie's Tutorials & Resources ✨
Thankyou so much!!! It'll help me with my shop but I'll give credit to you for your help!
Selina. K
✨ Winnie's Tutorials & Resources ✨
Part I: Creating a Basic Canva Banner
➤Step One: Open Canva and select the 'Tumblr Banner' as a template size.
➤Step Two: Select the background you wish to use.
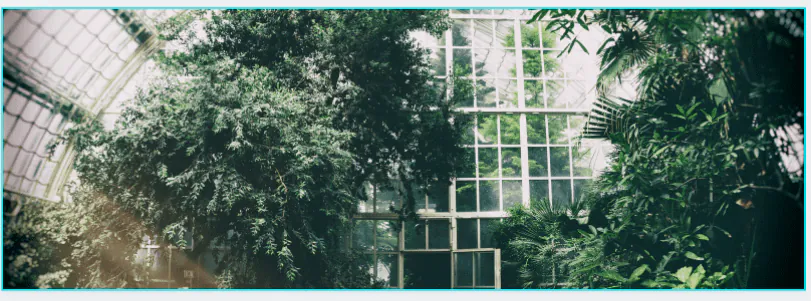
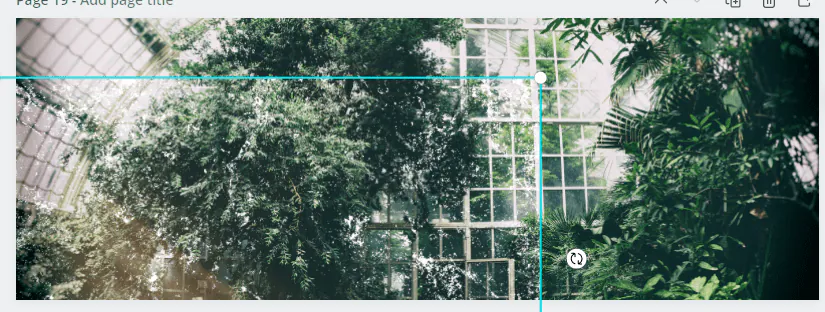
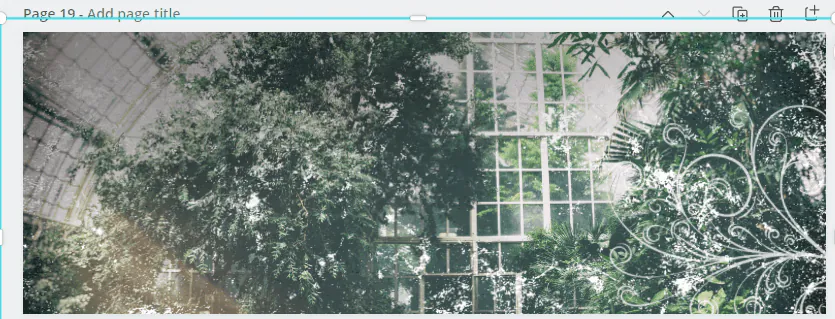
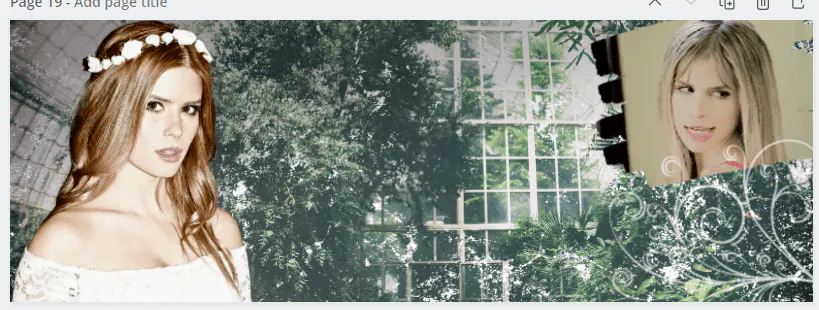
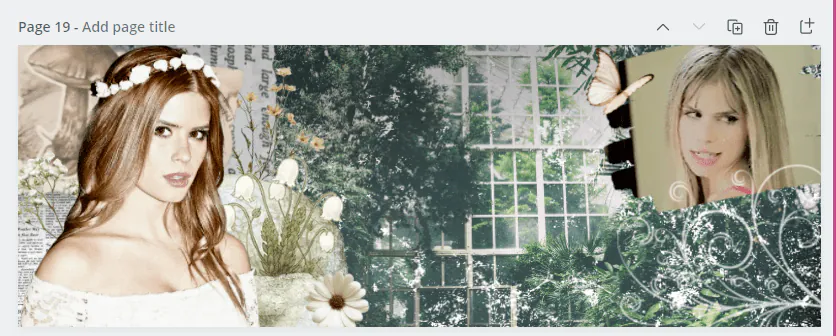
For the purpose of this thread, I will be showing you how I created @Starlee Kennedy's banner. Starlee's character is into Herbology and nature, so I have selected a nice greenhouse as a background for her character. After uploading it to Canva, I right-click the image and select it as my background. If you double-click the background, you can adjust it to the angle you would like.
➤Step Three: Background overlays.
The background is a lovely photograph to begin with, but if we left it as it was it would overshadow the image of the character and other items we plan on adding to the banner. So we can add an overlay to give it more of a textured appearance and draw our eyes elsewhere. A background should just be that; a background.
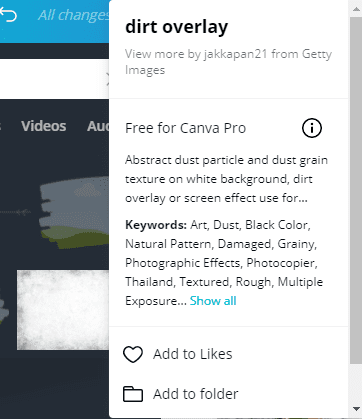
You can find overlays a few different ways. A few sites I use include interest, tumblr, and deviantart, but for the purpose of this tutorial, I am going to use the overlays that Canva itself provides. Clicking on the Elements category on the left side of the page, I type in 'overlay' and check out what pops up. The first thing is a grunge-type splatter of paint. I change the colour to white and draw it to fit the page.
I also find a nice white overlay that will dull the image a bit and give it more of a textured look. I add this image and resize it. I right-click the image and select 'Send to back' so it is in the very back layer.
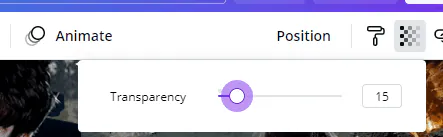
Next, keeping our image selected, we will go up to the top right corner of the menu and click the transparency icon. I have only selected 15 transparency. The result is what I was looking for, after all!
To add a bit of extra flair, I also add a swirl design in the bottom right corner. I turn down the transparency to make it more subtle. The background is finally to my liking; beautiful but not in a way that takes away from the final result.
➤Step Four: Adding the character's image.
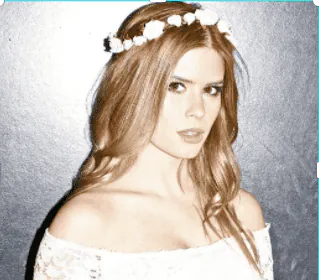
It may seem simple enough, but finding the correct image to use can be difficult. Your photo needs to be clear, unedited, and not cut off at the shoulders or the top of the head. Thankfully Starlee is a darling and provided me with plenty of options. As you can see, the photo I selected matches the theme's colours and is clear enough for me to edit out the background without an issue.
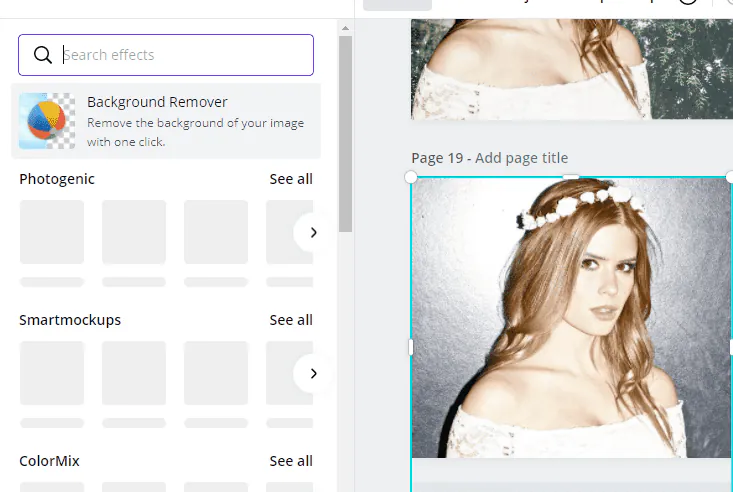
The next step does happen to be a Canva Pro step, but there are plenty of websites available as well as editing tools that will allow you the remove the background of an image. If you have Cana Pro, keep the photo selected and you can click on the 'Effects' option on the top of the page. Next click 'remove background'. The Canva site is usually wonderful at automatically removing the background for you, but if it fails you can always use another site or select another image.
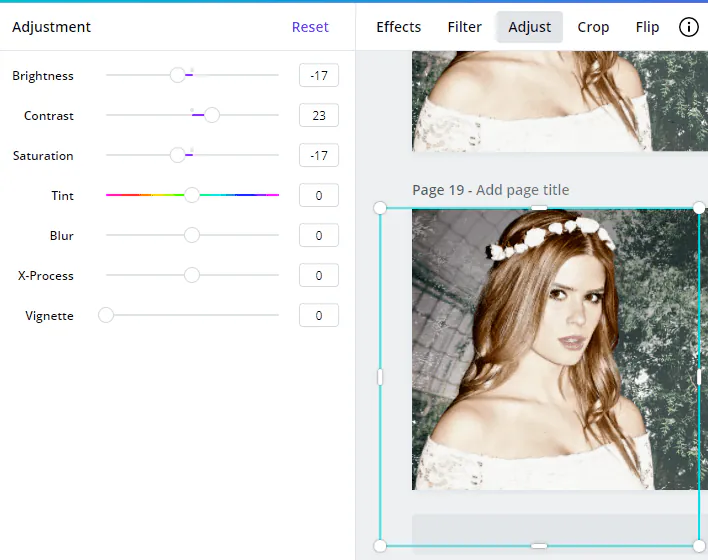
Next, I always play with the photo adjustment options. to make it blend with the banner more. For Starlee's, I just played with the brightness, sat, and contrast as so to really make the photo stand out against the background and give it that extra pop.
➤Step Five: Adding a basic GIF.
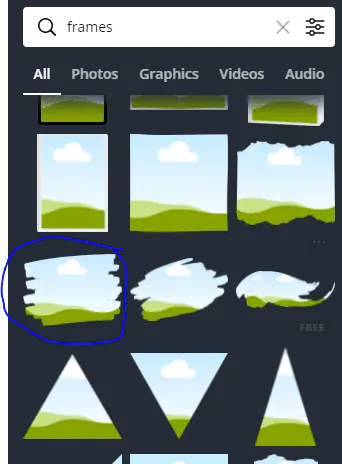
Starlee provided me with many lovely gif options for her banner, and often I have the opportunity to create fun GIF banners. After uploading the .gif file, I use the elements option again to search for 'frames'. Canva has a lot of cool shapes that you can automatically fit photos and gifs into, I usually like to use the 'brush' ones for my Winnie shop banners.
After adding the frame to your banner, drag it over to the area you want to place the gif in. I decided to send it back a layer so our swirl design can add a bit of extra flair. Then, going into uploads, click on the 'video' section and drag and drop the gif you've uploaded over the frame, the image should automatically be snap inside the frame. There is a lock option on the top right-hand corner if you want to make sure none of the other photos/pngs you add to your banner try to snap into the frame instead. You can also add another overlay over the gif if you feel it is too bright.
➤Step Six: Adding PNGs.
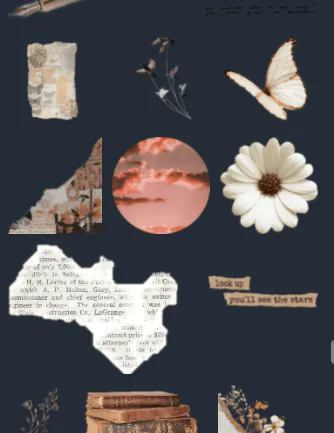
This step likely takes the longest. Finding the proper pngs to decorate your banner with. These pngs can be found on a variety of different sites, such as Pinterest and tumblr, but you can also just type what you're looking for plus PNG into google and find a lot of results. I have a file that has around 2k pngs for banner-making purposes alone.
It is important to find pngs that match the theme of your banner. Because of this, I will be on the hunt for pngs that have a nature theme. I will be using some from my personal collection but will add a few examples of pngs that would work under the reductio.
Reducio
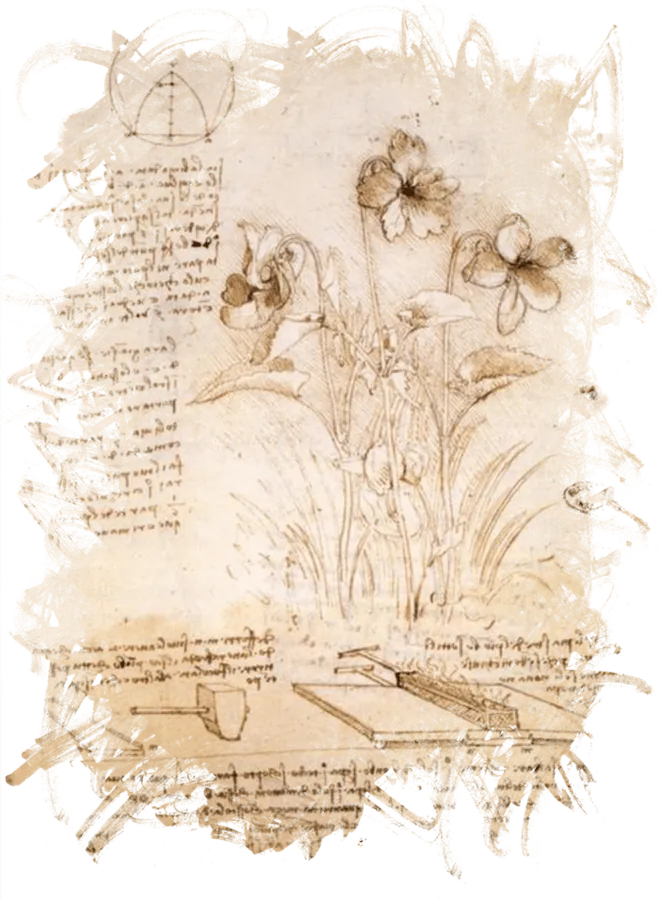
As you create your banner, you can layer and shift around the pngs beneath the FC photo to give it a stylized look. I usually like to use something like ripped paper as a background before I start layering other items. For Starlee, we will use loads of flowers, ripped pages with information about plant life, and butterflies.
It looks good, but I usually add something called a gradient overlay over the png images to dull them down a bit. Canva has a ton available directly in their app in the elements section. Just make sure you layer it behind the FC's photograph. You can play around with thetransparency to make it darker or lighter.
➤Step Seven: Text.
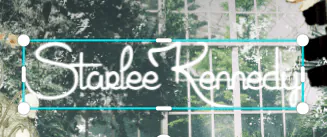
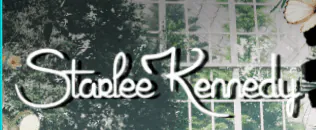
Canva offers a direct text option but I like to use a site called fontspace at least for the names because I find they have a lot of nice options that can help your image really stand out. I found a nice font and made it white in colour to stand out against the background. As you can see, on it's own it really blends in too much. So I will click on 'effects' and select the shadow effect, turning up the transparency and the blur down so it looks like the text casts a shadow.
As you can see, your text now stands out more and it made it easy to read. Next, I add a simple nature-themed divider and use the Canva text to add in a quote. I also use the shadow method on the quote's wording.
Play around to find the correct positioning, and there you have it! Your banner is finished. Make sure you save it in gif format.

Last edited by Winnie Athanatos on 31 Oct 2021, 21:41, edited 1 time in total.
│ │ | │ │ | STA: 15 • EVA: 18 • STR: 8 WIS: 11 • ARC: 7 • ACC: 17 | │ │ | • Healing Sage • Muggle Condition • Paragon of Health • • Poison Resistance • Animagus • Wandmaker • Lovely Creature • | │ │ | │ │ |
✨ Winnie's Tutorials & Resources ✨
@Winnie Harper you may need to help me as I'm terrible at banners.
Selina. K
✨ Winnie's Tutorials & Resources ✨
Part II: GIF Overlay
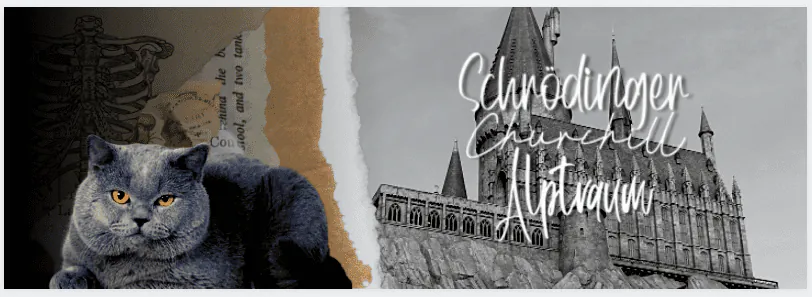

@Xailah Alptraum's cat Schrödinger is certainly adorable, and it looks like this banner is coming along well, but it could use a little something to really make it pop.
➤Step One: Find a GIF overly

A fun overlay would help out with that, and gif overlays are even more fun! They can be found on Canva itself in the video section, or you can use sites like tumblr to discover fun gif overlays. Although it is not what I am using in today's banner, I found this one prettily easily.
➤Step Two: Layer the gif
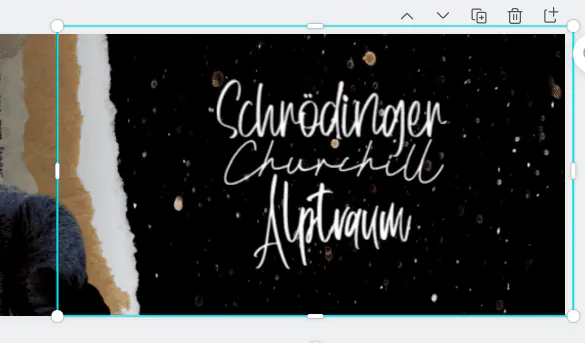
Upload the gif to Canva and add it to your banner, adjust the size and send it to the back.
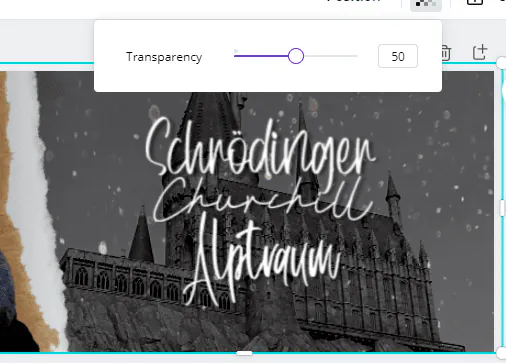
Next you can adjust the transparency. For this gif I used 50% transparency to keep a darker background.
Now you are finished!
Last edited by Winnie Athanatos on 31 Oct 2021, 21:43, edited 1 time in total.
│ │ | │ │ | STA: 15 • EVA: 18 • STR: 8 WIS: 11 • ARC: 7 • ACC: 17 | │ │ | • Healing Sage • Muggle Condition • Paragon of Health • • Poison Resistance • Animagus • Wandmaker • Lovely Creature • | │ │ | │ │ |