✨ Winnie's Tutorials & Resources ✨
I just want to be myself.
Stamina: 6 Evasion: 5 Strength: 5 Wisdom: 7 Arcane Power: 5 Accuracy:7
✨ Winnie's Tutorials & Resources ✨
Thanks, now I can see how other students and professors make their banners. It's really beautfiul.
- Carolyn Plant -
✨ Winnie's Tutorials & Resources ✨
this was super useful!
I made this:

I made this:

✨ Winnie's Tutorials & Resources ✨
That's beautiful!
✨ Winnie's Tutorials & Resources ✨
So I stumbled across this thread, and I have so far found it extremely useful! Unfortunately, I still don't know how to take my Banner from Canva and show it on site. Can you help me with this?
"Oh Gods, I set the water on fire again."
Stamina: 7 | Evasion: 8 | Strength: 3 | Wisdom: 8 | Arcane Power: 11 | Accuracy: 7
Stamina: 7 | Evasion: 8 | Strength: 3 | Wisdom: 8 | Arcane Power: 11 | Accuracy: 7
✨ Winnie's Tutorials & Resources ✨
Taizu Miyashiro wrote: 17 May 2022, 23:07 So I stumbled across this thread, and I have so far found it extremely useful! Unfortunately, I still don't know how to take my Banner from Canva and show it on site. Can you help me with this?
Code: Select all
"I wish nothing but the best for you." - Adele
✨ Winnie's Tutorials & Resources ✨
go to https://gifyu.com/ after dowloading the banner and upload it then go to "embed codes" and click image URL then paste it hereTaizu Miyashiro wrote: 17 May 2022, 23:07 So I stumbled across this thread, and I have so far found it extremely useful! Unfortunately, I still don't know how to take my Banner from Canva and show it on site. Can you help me with this?
✨ Winnie's Tutorials & Resources ✨

YAYYY!!! Thank you so much!
"Oh Gods, I set the water on fire again."
Stamina: 7 | Evasion: 8 | Strength: 3 | Wisdom: 8 | Arcane Power: 11 | Accuracy: 7
Stamina: 7 | Evasion: 8 | Strength: 3 | Wisdom: 8 | Arcane Power: 11 | Accuracy: 7

✨ Winnie's Tutorials & Resources ✨
Part VI: Creating a Basic Picsart Banner
Admittedly I now usually hop back and forth between Canva and Picsart to create my banners, but I wanted to give a short tutorial about how to make a banner on Picsart.
➤Step One: Open Picsart and select 'Create'. Hit the custom size option. For my banners I usually use 1000x360
➤Step Two: Upload the background you want to use with your banner.
➤Step Three: Upload the character image you want to use.
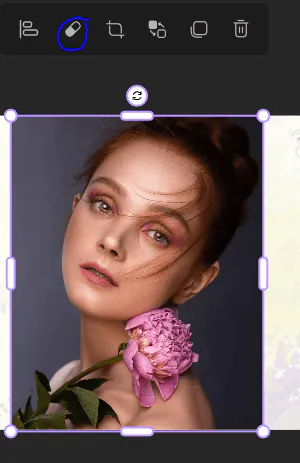
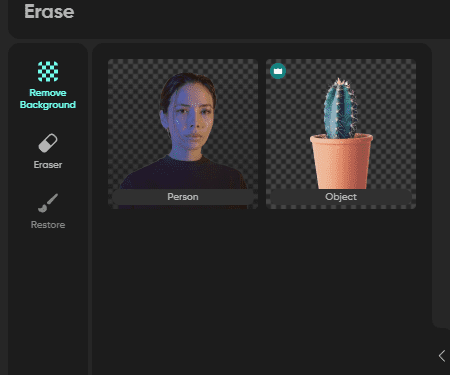
You can have Picsart erase the background by clicking on the tiny eraser button.
Select the first option for person:
Then hit apply to erase your image's background.
➤Step Four: Play with the blending tools.
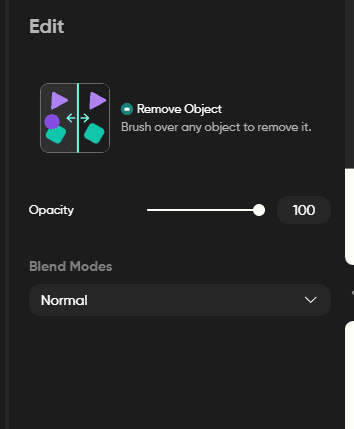
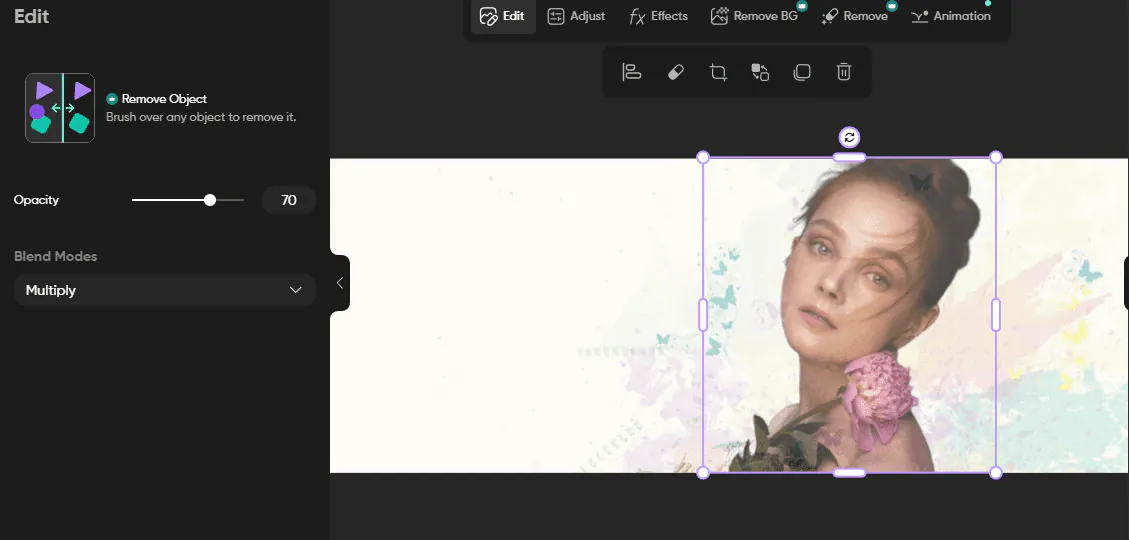
*This works for any image in Picsart*. Click on your photo and press edit, you should see three different options:
Try playing around with the last option to blend pictures into the background. This helps build on your background. For Winnie's photo and I am going to select 'Multiply'. This allows some of the background colours to overlap. I will also lower the transparency a bit as I am planning on using this photo as part of the background.
➤Step Five: Play with stickers.
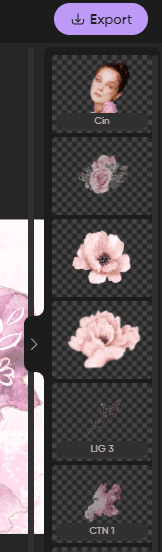
On the left hand menu click on the sticker option.
Type in some keywords and see the built in options that Picsart has. The ones with the crowns are for premium so be careful not to place them. For Winnie's banner I am going to use a flower theme, so I will be looking for flowers.
You can use the layer tab on the right hand side to play with your layout. Stickers can also be blended into the banner or you can use the large array of filters to create the perfect image.
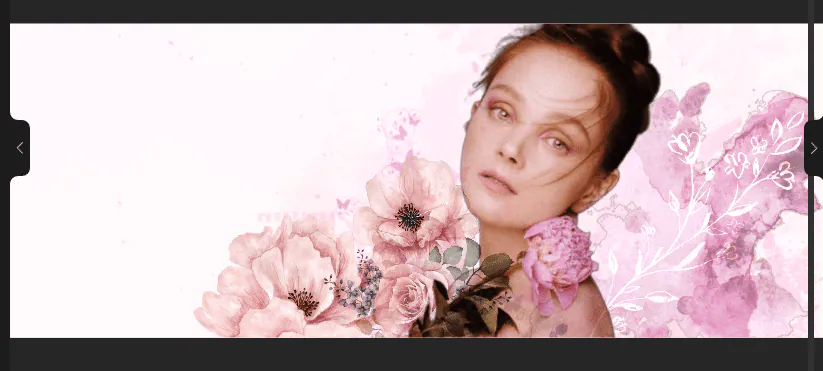
This banner could use more flowers, but I can easily add them on later and use the layer tool to place them where I want. Note that I also used a different filter to make the first image blend in better. I am fine with it blending in as for this particular banner it is part of the background.
➤Step Six: Add another image.
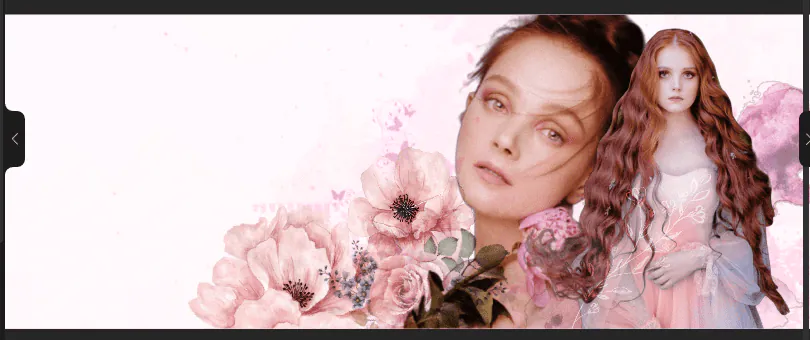
For this part I am going to add a second image. It is going to be the main focus of the banner, other than the name of course. To contrast the close up I am going to look for a full body photo or at least one that is zoned out a bit more.
You can repeat step three to remove the background of your image. I played with a few filters, picking cinematic. Then I moved one of the stickers I had in front of the image to help blend it in.
➤Step Seven: Add text.
You can add your character's name, their stats and perhaps even a quote. You can use text directly on the site, but options are very limited so I would suggest using a site like fontspace and uploading the image onto the site. If you do this you can also play around with some of the other photo edit options.
If you want, you can also save your image here and upload it to Canva, but keep in mine you'll lose the banner's layers.
For the purpose of this tutorial, I will be doing everything on picsart (so brave).
You'll notice I also went back to add a few more stickers now that I have my layout planned. Picsart is a fun site but it requires a lot of playing around to get things right. Try it out and share what you make with me!
Unfortunately you cannot add a gif on this site (if you can I haven't figured out how lol) but you can always take your finished banner and upload it to Canva to quickly add one.

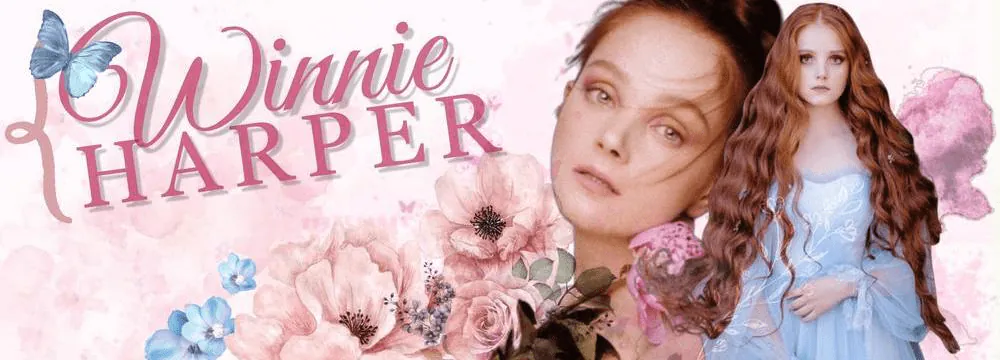
OTHER EXAMPLES OF PICSART BANNERS:

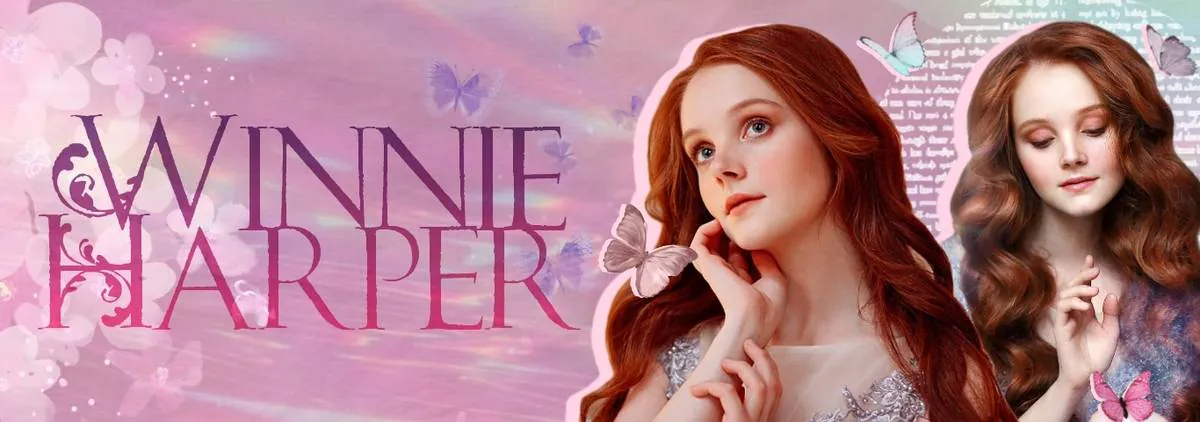

EXAMPLES OF CANVA AND PICSART MIXED:
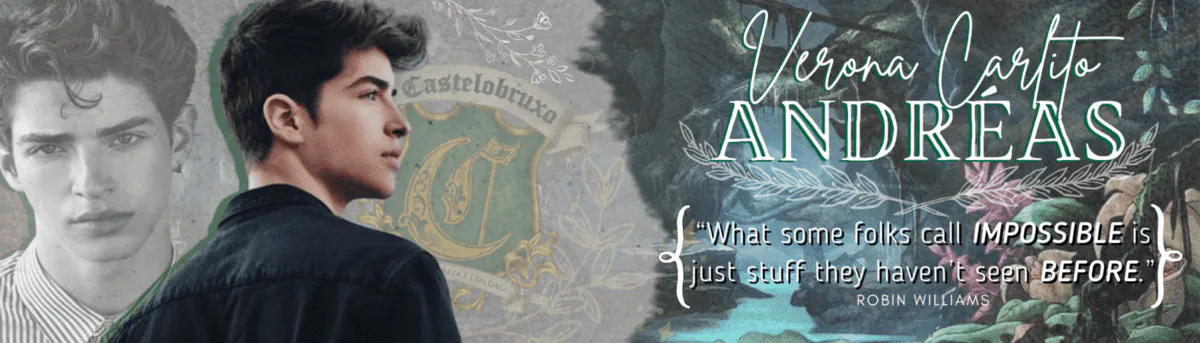


EXAMPLES OF CANVA AND PICSART MIXED:
│ │ | │ │ | STA: 15 • EVA: 18 • STR: 8 WIS: 11 • ARC: 7 • ACC: 17 | │ │ | • Healing Sage • Muggle Condition • Paragon of Health • • Poison Resistance • Animagus • Wandmaker • Lovely Creature • | │ │ | │ │ |
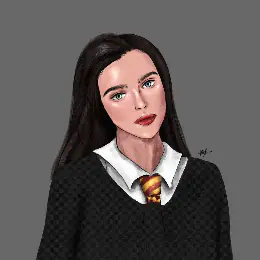
✨ Winnie's Tutorials & Resources ✨
Thank you so much for this! 
| SIENNA LENOIR | OLIVE ADAIR STA 8 • EVA 8 • STR 1 • WIS 5 • ARC 4 • ACC 9 |
❝ | I GET LOST IN MY OWN HEAD |
❞ |